
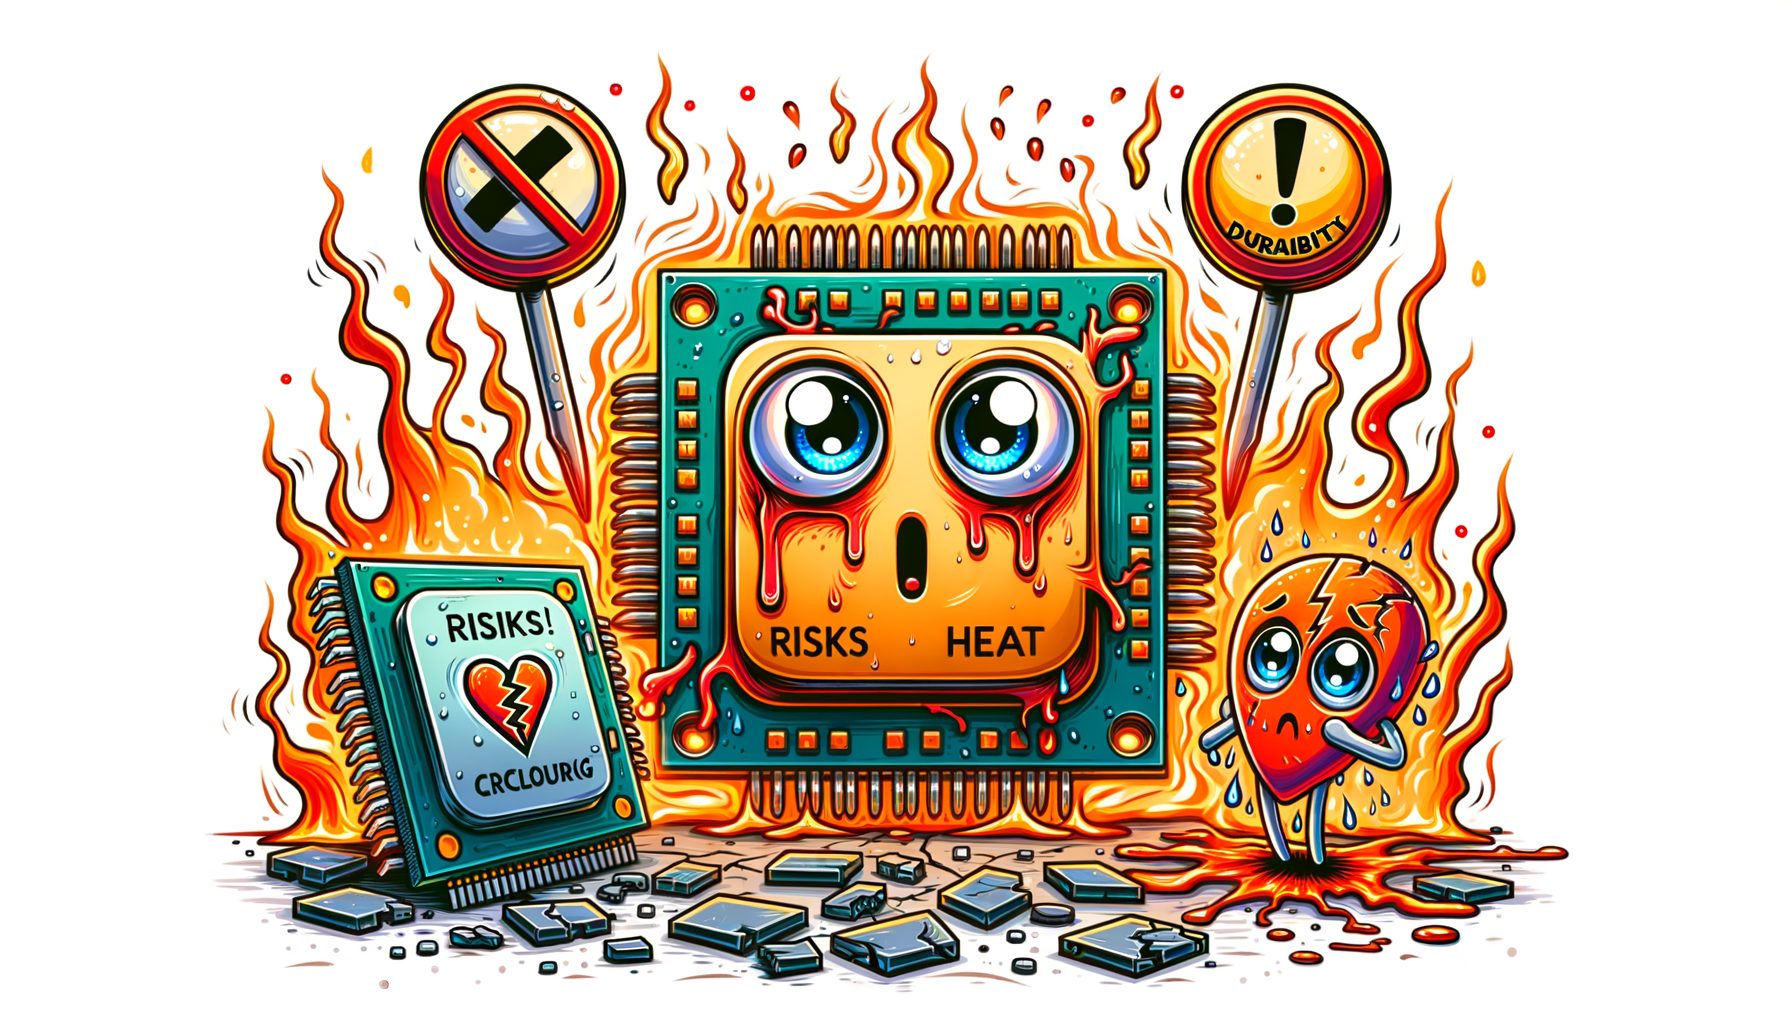
If you’ve ever chased extra frames or faster renders, you’ve likely wondered how overclocking affects chipset lifespan, what the real risks are, and how heat shapes long-term durability. The dilemma is simple: extract more speed without turning your motherboard’s chipset, VRMs, or CPU into a short-lived furnace. Here’s a clear, direct guide to overclocking, chipset lifespan, risks, heat, and durability—packed with practical steps, data-backed insights, and real-world tips anyone can follow.
How Overclocking Influences Chipset Lifespan: Voltage, Electromigration, and VRM Stress
Overclocking pushes frequency and, often, voltage. Extra voltage is the chief accelerant of wear. Inside silicon, higher voltage raises current density and heat, which speeds up electromigration—atoms drifting within metal interconnects over time. Instability tends to creep in: random reboots, memory errors, or the need to nudge voltage higher just to keep an overclock that once seemed rock solid. While CPUs and GPUs get most of the spotlight, the chipset and surrounding power delivery (VRMs, MOSFETs, chokes, capacitors) take a beating too.
Picture the board’s VRMs as “power translators.” They drop 12 V from the PSU to the low voltages your CPU, chipset, and memory require. Sustained load drives VRM temperatures up. On budget boards with light heatsinks or weak airflow, heavy stress can raise temps by 10–25°C. The result isn’t merely uncomfortable; it can materially shorten component life. Capacitors dry out sooner, MOSFETs run near thermal limits, and the chipset heatsink can saturate—especially in compact cases with restricted airflow.
Your CPU and GPU overclocks chip away at chipset lifespan indirectly. Why? More total system power equals more heat inside the case. That extra heat soaks the chipset area, often tucked under the GPU or near M.2 slots where hotspots form. Even if you never touch chipset voltage, heat and radiated load from other parts will age it faster. Dust buildup compounds the problem by insulating fins and choking airflow.
The bottom line: voltage and heat are the twin forces behind wear. A careful overclock keeps voltage as low as possible, avoids unnecessary load-line calibration (LLC) overshoot, and respects thermal limits not only on the CPU but across the VRM and chipset zones. Planning to keep the system for 3–5 years or more? Favor a mild, efficient overclock over peak numbers that run too hot for daily use.
Heat: The Silent Chip Killer—Temperatures, Testing, and Real-World Numbers
Heat is the strongest predictor of electronics longevity. Reliability engineers lean on the Arrhenius model: as a rough rule, every 10°C rise in operating temperature can cut life by about half for many failure modes. It’s not a law of nature, but it’s a useful heuristic for CPUs, chipsets, and VRM components. Practically, a hotspot at 85°C instead of 65°C could be the difference between years of trouble-free use and a system that drifts into instability after a couple of summers.
Ambient temperature matters. A room at 30°C versus 20°C can add 10°C or more to steady-state temps with the same cooling. Small-form-factor cases and laptops suffer most due to limited airflow and thermal mass. Thermal paste quality, case pressure (positive vs. negative), and dust all shape real-world outcomes. Use monitoring tools such as HWiNFO, Ryzen Master, and Intel XTU to track not only core temps but also VRM, chipset, and SSD temps—during gaming and productivity, not just synthetic tests.
Here’s a simple reference with conservative targets for daily systems. These aren’t hard limits, but staying near or below them improves durability:
| Component | Comfort Zone (Load) | High but Usable | Notes |
|---|---|---|---|
| CPU (modern desktop) | 60–80°C | 80–90°C | Short spikes above 90°C are common under AVX; lower is better for longevity. |
| GPU | 60–80°C | 80–85°C | Memory junction (GDDR6X) can run hotter; aim to cool it below 90–95°C. |
| Chipset (PCH/X570/B650 etc.) | 50–70°C | 70–80°C | Chipset fans on some boards kick in around 60–70°C; ensure airflow. |
| VRM (MOSFET sensor) | 50–75°C | 75–90°C | VRMs can survive higher temps, but cooler VRMs significantly improve lifespan. |
Combine synthetic and real workloads to test safely. Run a 10–20 minute synthetic stress (OCCT, AIDA64, or Prime95 with reasonable limits), then game or render for at least 30–60 minutes. Watch equilibrium temps, look for frequency drops (thermal throttling), and check voltage behavior under transients (spikes when a core suddenly boosts). If case temperature creeps up over time, add exhaust or refine the fan curve. Trading a 100 MHz gain for +10°C usually isn’t worth it when you care about longevity.
Key takeaway: measure, don’t guess. Your plan should keep temperatures flat during the exact workloads you use daily—not just for a pretty benchmark screenshot.
A Safer Overclocking Blueprint: Settings, Monitoring, and Stress Tests
The safest overclocks are “efficiency overclocks.” Rather than maxing voltage for a headline frequency, tune for performance per watt. In practice, you’ll see a mild frequency bump with careful undervolting or curve optimization, plus strict temperature control. The aim is to stay close to stock thermals while squeezing out extra speed.
Start with baselines. Update the BIOS, record stock voltages, clocks, and temps under normal workloads, and confirm full stability at defaults. Then move step-by-step. On Intel, many users succeed by nudging all-core turbo modestly, applying an AVX offset, and keeping core voltage increases minimal. On AMD Ryzen, Precision Boost Overdrive (PBO) with a negative Curve Optimizer often delivers free performance by cutting voltage at a given frequency—improving both speed and thermals. Keep SoC voltage (memory controller and fabric) within vendor guidance to protect long-term health.
Load-line calibration (LLC) can help but also hurt. Higher levels flatten droop under load yet cause voltage overshoot on transients, which stresses silicon and VRMs. A middle setting that mirrors the board’s default load-line is usually kinder than aggressive LLC. And don’t copy “golden sample” configs blindly; silicon variance is real, so what’s safe for one chip may be marginal for another.
Use a monitoring and test routine you trust. A practical mix: HWiNFO for logging, OCCT or AIDA64 for controlled stress, Prime95 Small FFTs with AVX disabled for thermal sanity checks, then your actual workload (F1 23, Cyberpunk 2077, Blender, Unreal Engine compiles, etc.) for at least an hour. If you see WHEA errors, abrupt clock drops, unexpected reboots, or memory training loops on cold boot, dial back. Stability is binary—either the system behaves perfectly for weeks, or it isn’t stable enough for daily life.
Finally, support the overclock with cooling: optimized fan curves that follow liquid temperature (for AIOs) or CPU/VRM temps, fresh thermal paste every 1–2 years, and monthly dust cleanouts. Overclock safety isn’t just about BIOS numbers—it’s a full-system plan to keep heat and voltage in check so your chipset and power delivery don’t age prematurely.
Durability in the Long Run: Cooling Upgrades, Maintenance, and When to Avoid Overclocks
Long-term durability comes from habits, not a single magic setting. Airflow is first. Ensure a clear front intake and an unobstructed exhaust path, with tidy cables so air can sweep over VRMs and the chipset area. Because many motherboards hide the chipset under a GPU, a small 92 mm side intake or a gentle fan angled at the board can shave 5–10°C off chipset and M.2 temps. On boards with tiny chipset fans, keep dust out and avoid aggressive fan stop—letting that fan idle at low RPM is healthier than constant start/stop.
Maintenance counts: dust insulates. Even a thin layer can raise temps by several degrees. Clean filters monthly, blow out radiators and heatsinks every 3–6 months, and revisit fan curves after seasonal temperature shifts. Good thermal paste applied correctly (a thin, even spread or a small center dot on desktop CPUs) prevents hotspots and needless pump/fan ramping. If VRMs run hot, consider stick-on heatsinks for M.2 drives and position the top exhaust to pull air across the VRM fins.
Power quality influences lifespan as well. A reputable PSU with low ripple, solid transient response, and headroom reduces stress on VRMs and the chipset. Cheap surge protectors help, but a UPS with AVR (automatic voltage regulation) provides steadier power where mains are unstable. Motherboard quality matters too: stronger VRMs and better heatsinks on higher-end boards manage sustained loads more gracefully, especially with high-core-count CPUs.
When should overclocking be avoided? Laptops and very small-form-factor builds rarely have the thermal budget for sustained boosts. Workstations doing critical tasks (CAD, medical imaging, production servers) value uptime over a small speed bump—any crash costs time and money. If your case is thermally constrained or your ambient temperatures run high year-round, prioritize undervolting and power limits over frequency pushes. And if the system already edges into thermal throttle at stock, overclocking isn’t the move; fix cooling first.
The smart compromise is simple: use mild, efficiency-focused tuning, keep temps in the comfort zones, and accept that a 2–5% lower peak can buy years of reliable service for the chipset, VRMs, and the rest of the platform.
Q&A: Quick Answers to Common Questions
Q: Does undervolting really help lifespan? A: Yes. Lower voltage cuts heat and current density, slowing electromigration. If stability holds, undervolting is one of the most lifespan-friendly tweaks you can make.
Q: Are XMP/EXPO memory profiles risky? A: They raise memory frequency and often SoC/IMC stress. Many systems run XMP/EXPO safely, but watch temps and test memory (e.g., MemTest86 or Karhu). If errors appear, reduce frequency or tighten timings at lower voltage.
Q: What temps are “safe” for the chipset? A: Aim for 50–70°C under load, and keep it under ~80°C. Ensure airflow over the board’s lower half, especially if your GPU dumps heat into that area.
Q: Is PBO on Ryzen safe for daily use? A: With conservative limits and a negative Curve Optimizer, PBO can be both fast and efficient. Monitor temps and stability; don’t exceed recommended SoC voltages.
Q: Which tests should I run? A: Use a mix—OCCT or AIDA64 for controlled stress, Prime95 (modest settings) for thermal checks, then your real apps and games for at least an hour. Log with HWiNFO to catch hidden issues.
Conclusion: Make Speed Last—Build a Cooler, Smarter Overclock
We’ve unpacked how voltage and heat drive wear, how chipsets and VRMs suffer when cases run hot, and why realistic testing beats chasing one-off benchmark wins. You saw the fundamentals (electromigration and thermal stress), practical temperature targets, and a safer blueprint that favors efficiency—mild frequency bumps, controlled voltage, careful LLC, strong monitoring, and honest stability testing. Long-term habits matter, too: airflow, dust control, better fan curves, power quality, and knowing when not to overclock.
Now it’s your turn: audit your build. Log temps during your real workloads for at least 30 minutes, note the highest sustained numbers for CPU, VRM, chipset, and SSD, and make a plan. If anything runs hot, fix airflow first, then try an efficiency tune—undervolt or apply a modest curve optimization before chasing big frequency increases. Re-test, compare logs, and aim for gains that don’t cost you +10°C. Treat stability as mandatory, not optional.
If you rely on your PC for school, work, creation, or daily gaming, the smartest overclock is the one you don’t notice—quiet, cool, and always stable. Start small, measure often, and give your chipset and VRMs the cool, clean environment they deserve. Your future self will thank you when the system still feels snappy years from now.
Ready to act? Open your monitoring tool, capture a baseline, and make one improvement today—better fan curve, dust cleanup, or a small voltage optimization. Share your before/after temps with friends or communities and keep refining. What’s the first temperature you plan to tackle?
Outbound References
Intel Extreme Tuning Utility (XTU): https://www.intel.com/content/www/us/en/download/17881/intel-extreme-tuning-utility-intel-xtu.html
AMD Precision Boost and Ryzen Master: https://www.amd.com/en/products/technologies/precision-boost and https://www.amd.com/en/technologies/ryzen-master
HWiNFO monitoring tool: https://www.hwinfo.com/
OCCT stress test: https://www.ocbase.com/
Prime95: https://www.mersenne.org/download/
AIDA64: https://www.aida64.com/downloads
Electromigration (overview): https://en.wikipedia.org/wiki/Electromigration
Arrhenius model in reliability (intro): https://www.ni.com/en/innovations/white-papers/06/using-arrhenius-equation-in-reliability.html
JEDEC JESD47 (reliability qualification guidance): https://www.jedec.org/standards-documents/docs/jesd47
Sources
JEDEC, JESD47: Stress-Test-Driven Qualification of Integrated Circuits — https://www.jedec.org/standards-documents/docs/jesd47
National Instruments, Using the Arrhenius Equation in Reliability — https://www.ni.com/en/innovations/white-papers/06/using-arrhenius-equation-in-reliability.html
Wikipedia, Electromigration — https://en.wikipedia.org/wiki/Electromigration
Intel, Intel Extreme Tuning Utility (XTU) — https://www.intel.com/content/www/us/en/download/17881/intel-extreme-tuning-utility-intel-xtu.html
AMD, Precision Boost and Ryzen Master — https://www.amd.com/en/products/technologies/precision-boost and https://www.amd.com/en/technologies/ryzen-master