
Heat spikes, unstable power, and tiny maintenance mistakes silently damage chipset hardware long before outright failure. If your PC, laptop, console, or embedded board runs hot or crashes under load, you may already be cutting years off its usable life. In this guide, you will learn why chipsets die early and how to apply practical, low-cost steps to reduce stress, stabilize performance, and keep your hardware reliable for as long as possible—without guesswork.
The real problem: small stresses add up to big failures
Most chipsets do not fail in a dramatic way. Instead, they age under continuous, avoidable stress. The top culprits are temperature, power quality, and physical or firmware negligence. High temperatures accelerate chemical reactions inside semiconductors and solder joints. A classic rule in reliability engineering, based on the Arrhenius model, says that many failure mechanisms speed up as temperature rises; as a rough rule of thumb used across electronics, every 10°C increase can significantly reduce expected lifetime. One pathway is electromigration, where metal interconnects degrade when current density and heat are high.
Power instability ranks second. Brownouts, surges, or a poor-quality power supply unit (PSU) can introduce voltage ripple, causing subtle data errors, VRM (voltage regulator module) stress, or long-term damage to the silicon. Even if you never notice a big outage, line noise or frequent small surges can still age components. Electrostatic discharge (ESD) events during handling are another hidden risk—one spark you do not feel can punch through delicate structures.
Maintenance and firmware issues also shorten lifespan. Dust raises temperatures by insulating heatsinks and clogging airflow. Old thermal paste dries out and reduces heat transfer. Outdated BIOS or chipset drivers can cause poor power management, incorrect voltages, or instability under specific workloads. Long, sustained peak workloads push temperatures and current higher than necessary when smarter settings could achieve similar performance with less stress.
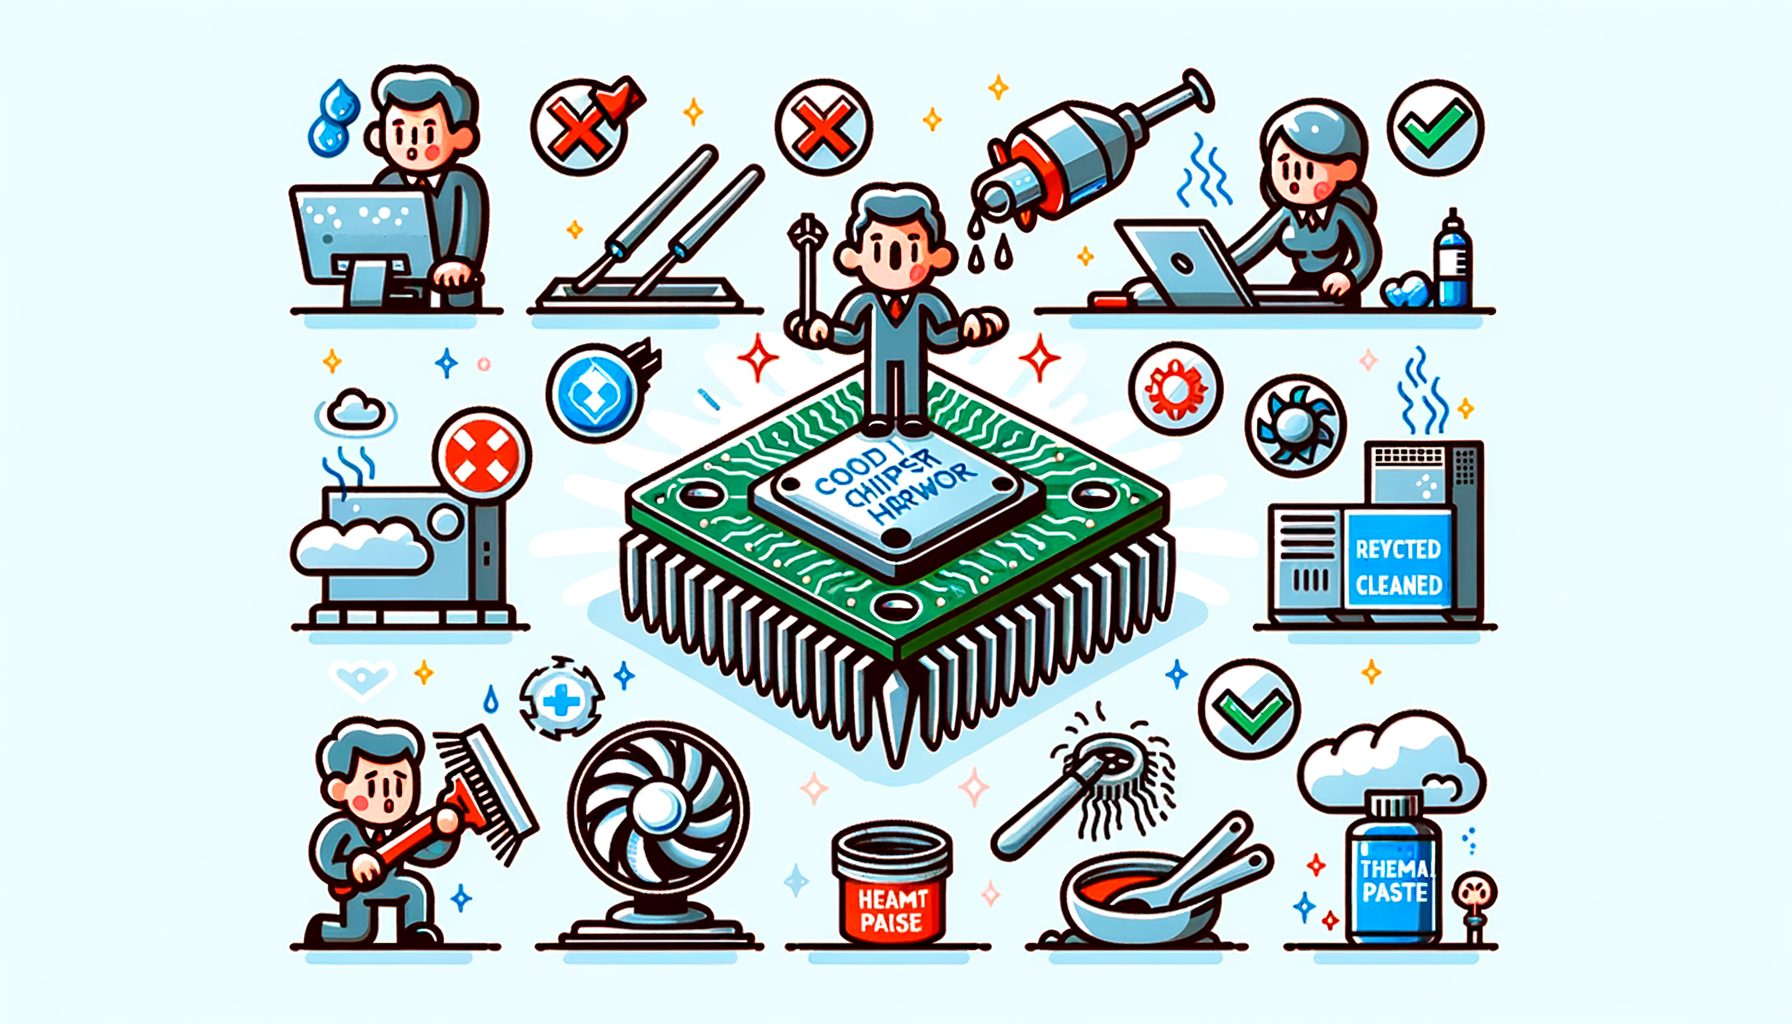
The good news: most of this can be solved with a handful of habits—better airflow, stable power, safe handling, and clean software/firmware. No exotic tools or expert skills are required; consistency is what matters. Below are actionable steps to reduce each stressor, grounded in industry best practices and easy monitoring techniques you can use today.
Control temperatures with smarter cooling and layout
Heat is the most common chipset killer. Your goal is simple: keep temperatures stable and within safe limits during both idle and heavy workloads. Start by monitoring. Use a trusted sensor tool to read temperatures for the PCH (platform controller hub), SoC, or motherboard “chipset” sensor alongside CPU and GPU readings. Free utilities like HWiNFO can show per-sensor temps and fan speeds in real time (https://www.hwinfo.com/). Log values during typical tasks, gaming, and file transfers to understand your baseline.
Fix airflow before buying new hardware. Make sure your case provides a clear front-to-back path: front/bottom intake fans pull cool air in; top/rear fans exhaust hot air out. Tie or route cables to minimize airflow obstruction. For small-form-factor systems or laptops on soft surfaces, simple steps like using a laptop stand, cleaning vents, and enabling a balanced fan curve can drop temperatures by several degrees. Always keep intakes clear; dust filters help, but they require cleaning. If your device has a removable bottom panel, periodically remove it and gently clear dust with short bursts of compressed air while the fans are held in place to prevent overspinning.
Reapply thermal paste when needed. Over time, compound dries and loses effectiveness. For desktops, a high-quality paste can remain effective for 2–5 years depending on ambient heat and duty cycle. If your chipset uses a passive heatsink, ensure it makes firm, even contact. Replace worn thermal pads with equal-thickness, reputable pads. When in doubt, follow your motherboard vendor’s guidance.
Undervolting and power tuning can cut heat without noticeable performance loss. Many modern CPUs/SoCs maintain performance at lower voltages, and reducing SoC or memory controller voltage by a small, stable margin can trim a few degrees. Always test with stress tools and revert if unstable. Also consider smart fan curves—set fans to ramp earlier around the temperatures your chipset typically reaches during gaming or compiling.
Ambient conditions matter. The ASHRAE data center guideline suggests a recommended room temperature range roughly between 18–27°C (64–81°F) for reliable operation in managed environments. While home setups are less controlled, aiming for similar ambient temperatures helps overall thermals. Keep humidity moderate (about 40–60%) to reduce static risk without encouraging condensation.
Use the table below as a quick reference when evaluating your setup.
| Factor | Practical Target | Why It Matters |
|---|---|---|
| Chipset temperature under load | Ideally below 80–85°C (176–185°F), with headroom | Lower temps slow aging and reduce error rates; more headroom for hot days |
| Ambient room temperature | ~18–27°C (64–81°F) | Cooler ambient equals lower component temps and fan noise |
| Dust level | Clean filters monthly; full dusting every 3–6 months | Dust traps heat and burdens fans; simple cleaning lowers temps |
| Fan curve | Begin ramp near 60°C (140°F) for chipset/VRM zones | Preemptive cooling avoids spikes and thermal throttling |
Key takeaway: measure first, then optimize airflow and contact surfaces before spending money. A few degrees of improvement today can add months or years to the life of your chipset hardware.
Stabilize power: PSU quality, surge protection, and UPS
Even perfect thermals cannot save a system from flaky power. Chipsets depend on clean, stable voltages from the PSU and VRMs. Choose a reputable PSU sized for your peak load with 20–40% headroom (e.g., if your rig pulls 350W under stress, consider 500–650W). Efficiency certifications like 80 PLUS are not a guarantee of reliability, but they correlate with better design and lower waste heat (https://www.plugloadsolutions.com/80PlusPowerSupplies.aspx). More important are protective features: look for OVP (over-voltage protection), OCP (over-current), SCP (short-circuit), and OTP (over-temperature). A PSU with stable rails and proper protections shields your chipset from ripple and spikes.
Add a surge protective device (SPD). Power strips without joule ratings are just extension cords. Choose a surge protector with a clear joule rating and indicator. For areas with frequent storms or grid issues, use a UPS (uninterruptible power supply). A line-interactive UPS with automatic voltage regulation (AVR) keeps your system powered through short outages and corrects sags and swells. Such protection prevents sudden shutdowns that can corrupt chipset-managed buses and storage. If you run NAS, servers, or workstations, a UPS is not optional; it is standard reliability practice. Learn the basics of UPS types and maintenance so you size it correctly for your load (https://en.wikipedia.org/wiki/Uninterruptible_power_supply) and review NIST’s plain-English guide on surge protection for homes and offices (https://www.nist.gov/publications/surges-happen-how-protect-home-office-electronics).
Inside the PC, manage cables and connectors. A loose 24‑pin or EPS connector can cause intermittent errors that look like software crashes. If your motherboard offers extra power headers for PCIe lanes or chipset cooling fans, use them. When adding high-draw peripherals, spread devices across separate PSU cables rather than daisy-chaining on a single strand to limit voltage drop.
As a last point, protect the system during maintenance. Always power down and unplug before component swaps. Touch a grounded metal surface or use an anti-static wrist strap when working near the board; ESD damage does not always kill immediately but can weaken semiconductors, shortening life. Store spare boards and memory in anti-static bags. Good power and safe handling are quiet investments that often pay for themselves by avoiding one failure event.
Firmware, drivers, and workload hygiene
Software-level care directly affects the physical health of chipsets. Firmware updates can refine memory timing, adjust voltages, improve link stability, and fix bugs that cause unnecessary heat or errors. Start with your motherboard support page to check for BIOS/UEFI updates. Read release notes carefully and update only when there is a clear benefit or a security fix. Keep chipset drivers current from official sources: use AMD’s chipset packages for Ryzen platforms (https://www.amd.com/en/support) or Intel’s Driver & Support Assistant for Intel platforms (https://www.intel.com/content/www/us/en/support/detect.html). Avoid third-party driver sites.
Optimize OS power settings. On Windows, the Balanced plan keeps clocks and voltages lower at idle while scaling up when needed. For laptops, ensure aggressive cooling policies when on AC power. Consider PCIe Link State Power Management if you are not experiencing device dropouts; it reduces idle power draw in chipsets that manage multiple lanes (https://learn.microsoft.com/en-us/windows-hardware/design/power/pcie-link-state-power-management). On Linux, use tools like TLP or tuned profiles to balance performance with thermals. The goal is fewer periods of unnecessary high voltage and heat.
Validate stability after changes. When you update BIOS, change fan curves, or undervolt, stress-test to ensure the chipset runs clean under load. Tools like MemTest86 catch memory-controller-related errors that may surface after firmware changes (https://www.memtest86.com/). Monitor temps and error logs while copying large files across storage, saturating PCIe, or running moderate CPU/GPU loads. Watch for WHEA (Windows Hardware Error Architecture) logs on Windows; recurring entries can hint at unstable links or voltages that your chipset oversees.
Practice workload hygiene. Avoid running unnecessary background miners, aggressive RGB software, or telemetry tools that keep buses active and warm. If your use case allows, cap frame rates to reduce sustained load. For creators, schedule heavy renders in cooler hours or use power limits during long queues. Keep storage healthy because chipsets coordinate I/O; enable drive health monitoring (S.M.A.R.T.) and update SSD firmware to avoid controller bugs (https://en.wikipedia.org/wiki/S.M.A.R.T.). The cumulative effect is lower average temperature and fewer electrical stress cycles.
Last, document your baseline. Record idle/load temps, fan speeds, and voltages when your system is stable. If behavior changes, you can quickly see what drifted—dust, a failing fan, a Windows update, or a misbehaving driver—so the cause can be corrected before it shortens lifespan.
Quick Q&A
Q: How often should I clean dust from my system?
A: Check filters monthly and do a deeper clean every 3–6 months, depending on your environment. Homes with pets, smokers, or construction dust need more frequent maintenance. Laptops benefit from periodic vent cleaning to prevent heat buildup.
Q: When should thermal paste be replaced?
A: For desktops, inspect or replace paste every 2–5 years, or sooner if temperatures creep up. High heat, frequent cycles, and budget pastes dry faster. For laptops, repasting can help, but it is more complex—follow the manufacturer’s guidance.
Q: Is undervolting safe for long-term use?
A: Yes, if done conservatively and tested for stability. Lower voltage reduces heat and electrical stress. Apply small steps, stress-test thoroughly, and keep a profile backup to revert if needed. Avoid extreme undervolts that cause intermittent errors.
Q: Do I really need a UPS at home?
A: If you care about uptime and component longevity, a line-interactive UPS with AVR is a strong investment. It protects against surges, sags, and sudden outages that can corrupt data and stress chipsets and storage.
Conclusion
Keeping chipsets healthy is less about magic fixes and more about removing everyday stress. You learned how temperature, power quality, firmware, and workload choices quietly shape reliability. With simple monitoring, better airflow, a clean PSU and surge/UPS setup, responsible firmware updates, and smart power profiles, you can dramatically reduce the wear that causes early failures. These steps are practical, budget-friendly, and repeatable, whether you build desktops, game on laptops, or run small servers at home.
Start today: install a hardware monitor, note idle and load temperatures, clean your filters, check your surge protector’s status light, and review your BIOS and chipset drivers from official sources. Set a calendar reminder to dust in three months. If you have time, tune your fan curve and try a conservative undervolt with proper testing. Expect cooler temps and quieter operation after an hour of work.
The compounding effect of small improvements is real. A few degrees cooler here, a stable voltage there, and fewer unexpected shutdowns can add up to years of extra service from your system. Protect your time, your data, and your budget by treating your chipset like the quiet MVP it is.
Ready to begin? Pick one area—monitoring, cleaning, power, or firmware—and take a single action right now. Progress beats perfection. What is the first quick win you will tackle today?
Sources
Arrhenius equation and temperature dependence of reaction rates: https://en.wikipedia.org/wiki/Arrhenius_equation
ASHRAE guidance for data processing environments (ambient temperature context): https://en.wikipedia.org/wiki/ASHRAE
HWiNFO hardware monitoring utility: https://www.hwinfo.com/
80 PLUS power supply efficiency program: https://www.plugloadsolutions.com/80PlusPowerSupplies.aspx
NIST guide to surge protection: https://www.nist.gov/publications/surges-happen-how-protect-home-office-electronics
UPS overview: https://en.wikipedia.org/wiki/Uninterruptible_power_supply
Electrostatic discharge (ESD) basics: https://en.wikipedia.org/wiki/Electrostatic_discharge
MemTest86 memory testing: https://www.memtest86.com/
AMD chipset drivers: https://www.amd.com/en/support
Intel Driver & Support Assistant: https://www.intel.com/content/www/us/en/support/detect.html